Overview
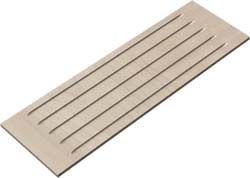
This gadget will create vectors for a Fluted panel. All you have to do is specify the dimensions.
How It Works
This gadget works by taking your dimensions for a fluted panel and automatically create the vectors needed for you, you then need to use those vectors to create a toolpath to create the desired effect on CNC.

Step By Step
To use this gadget just follow these simple steps:
- Start a new job in Aspire or VCarve Pro
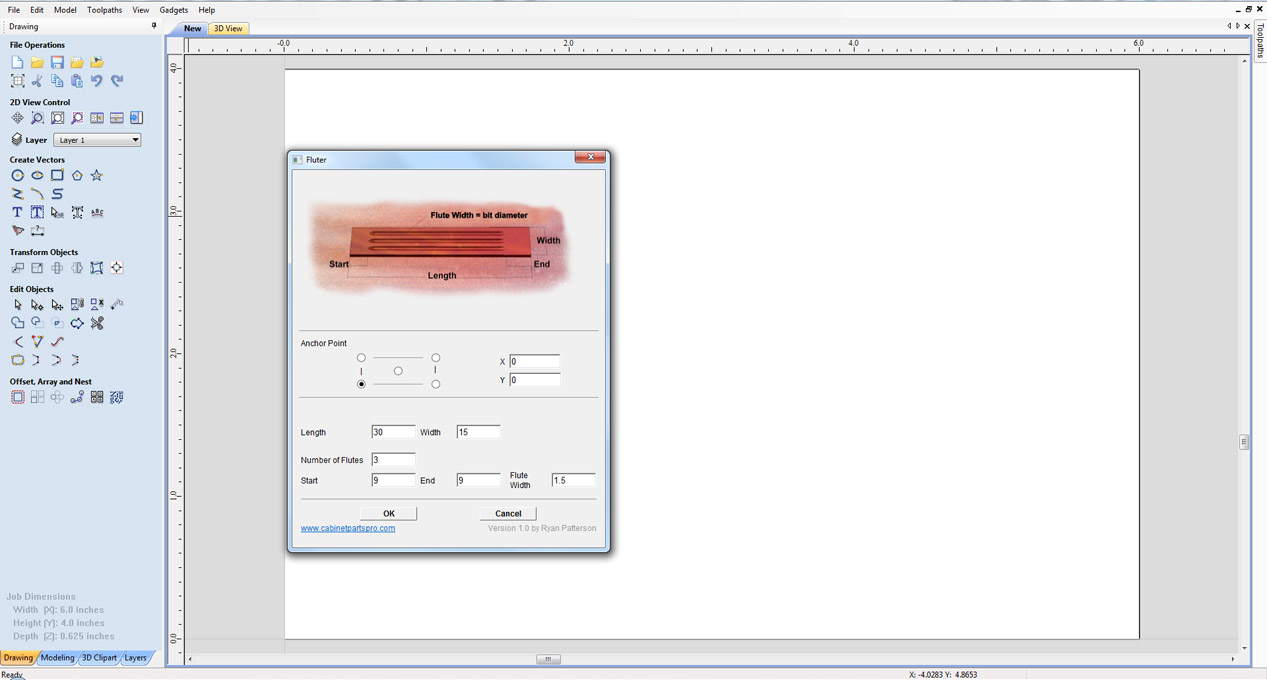
- Go to "Gadgets" on the toolbar and select the "Fluter" Gadget
- With the Gadget running you will have the following options
- Anchor Point: Specify where on the job to create the vectors
- Length & Width: Specify the size of the panel to create
- Number of Flutes: Specify the number of flutes to create across the panel
- Start & End: Specify how far into the material to start and end the flute
- Flute Width: Specify the width of each flute.
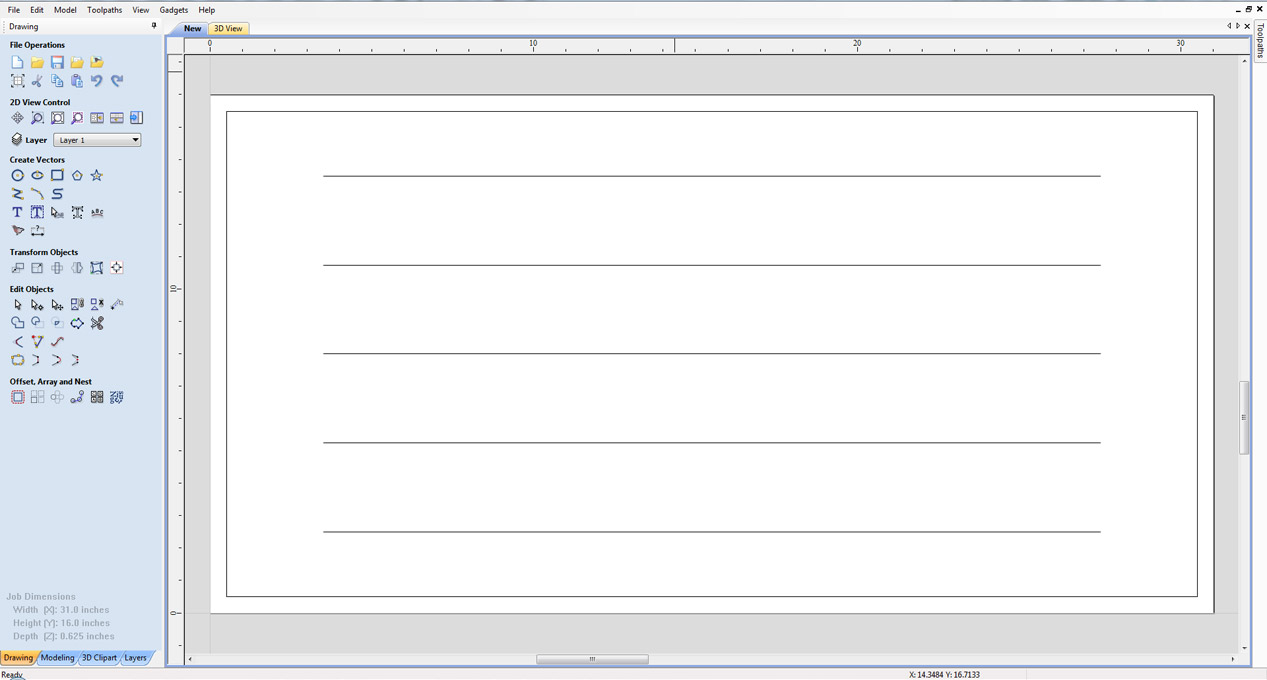
- Click "OK" to use the specified options and the Gadget will now create the vectors to use to create the toolpath.